Xin chào, chúng tôi có thể giúp gì cho anh?
Tài liệu hướng dẫn sản phẩm phong phú và hướng dẫn người dùng hướng dẫn bạn để bắt đầu nhanh chóng


Tài liệu hướng dẫn sản phẩm phong phú và hướng dẫn người dùng hướng dẫn bạn để bắt đầu nhanh chóng
Connecting a Proxy4Free proxy to Dolphin Anty lets you assign a separate network connection to a browser profile. This guide explains how to prepare your connection details, add the proxy, and check that the saved profile is ready to use.
Dolphin Anty organizes browsing activity into individual profiles, each with its own browser settings and session data. A proxy handles the network connection used by that profile. Keeping these two layers separate makes it easier to organize projects and troubleshoot connection problems.
A different IP address does not guarantee anonymity or prevent websites from associating activity with an account. Account details, browsing behavior, and other signals still matter. Use profiles and proxies in accordance with the rules of the services you access.
Sign in to your Proxy4Free account and obtain the connection parameters for the proxy service you intend to use. Keep the following information together:
Copy the complete values from your account. Do not infer the protocol from the port number or reuse example credentials from a screenshot. If you use an IP allowlist, make sure it includes the public IP of the network running Dolphin Anty.
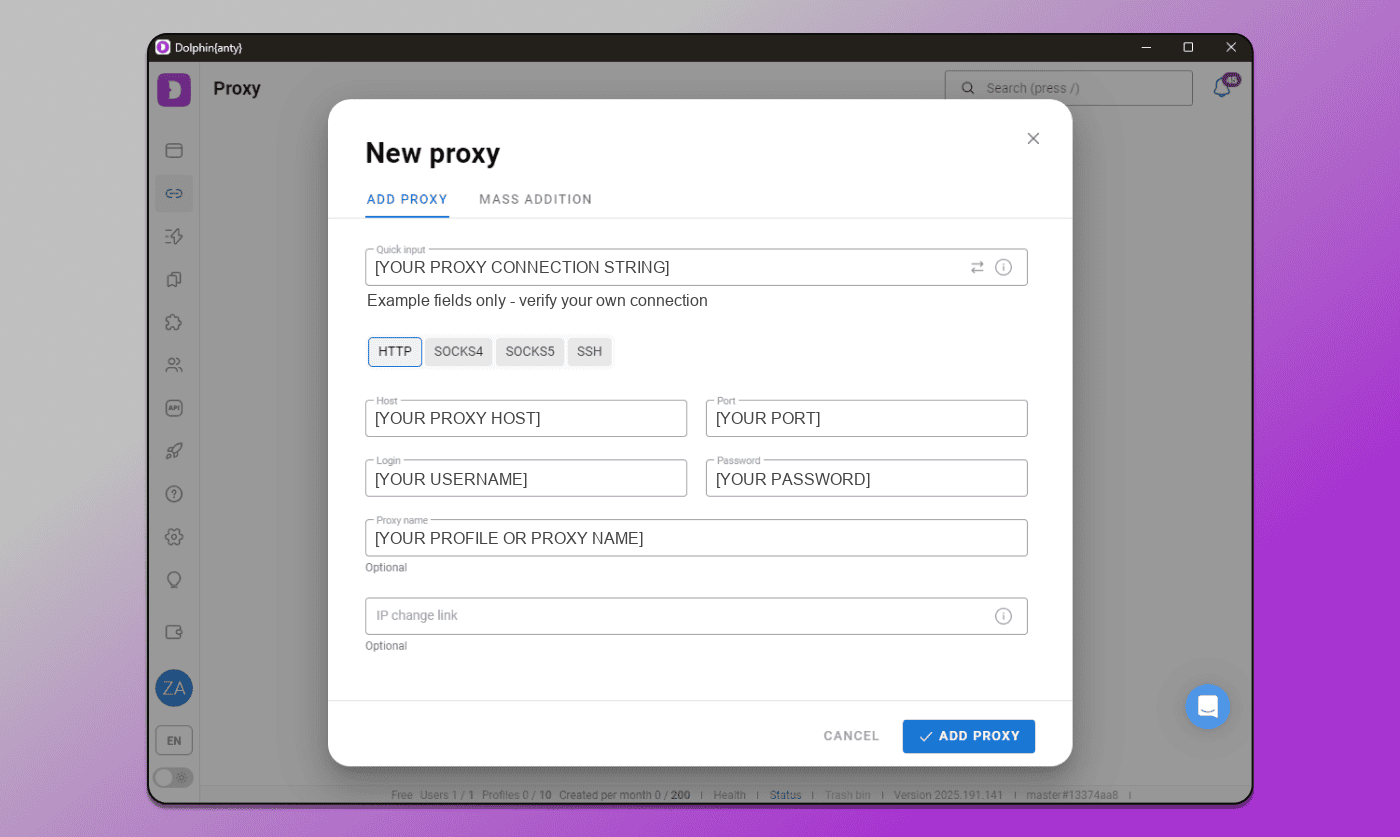
Open Dolphin Anty and go to Browser Profiles. Select Create profile and choose a descriptive name, such as a project name followed by its intended region. Clear names help you identify the correct working environment later.
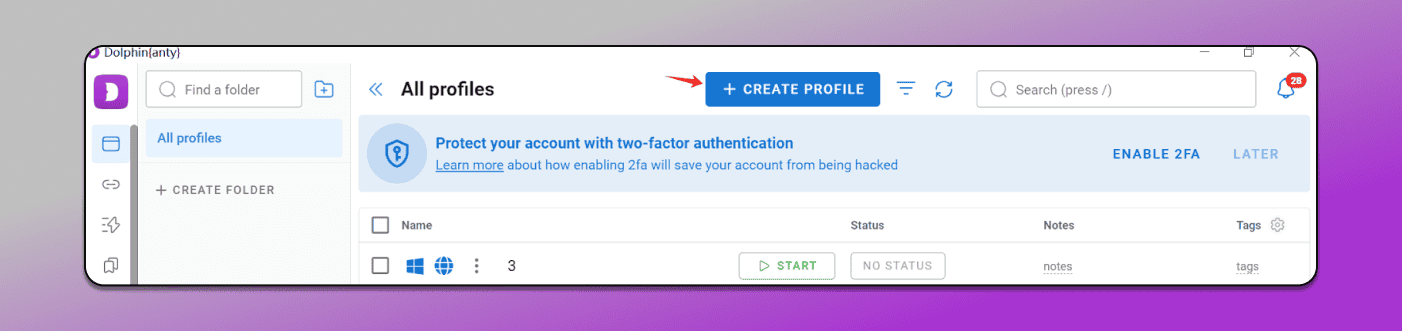
For an existing profile, open the menu beside its name and choose Edit. You can then replace its proxy without creating another profile.
Find the proxy section and choose New proxy or New proxies, depending on the version you use. Select the protocol that matches your Proxy4Free connection, then enter the host, port, and authentication information.
If the application offers a single connection-string field, follow the format accepted by that interface. Otherwise, fill in the individual fields. Avoid adding extra spaces when copying the username or password.
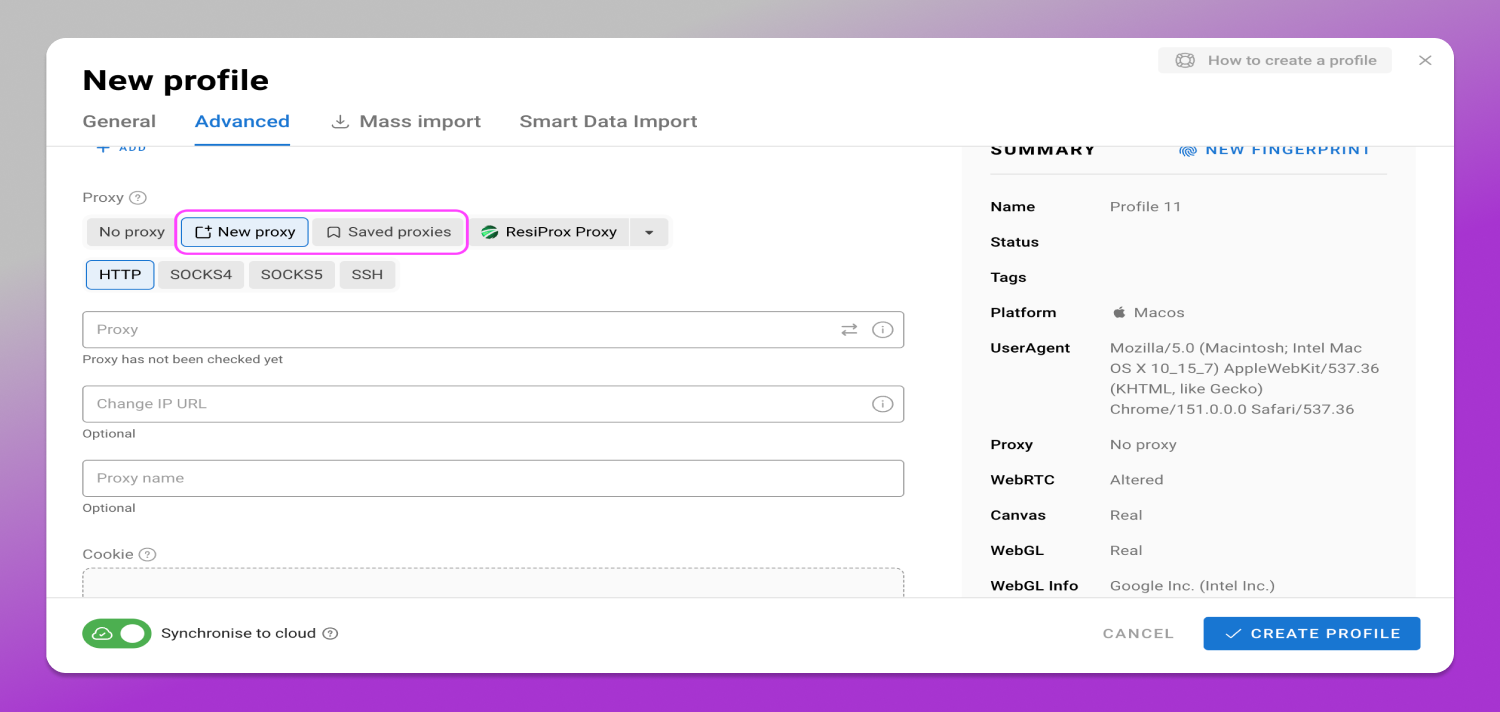
Run or wait for the connection check. Once it succeeds, save the existing profile or finish creating the new one. A successful check confirms connectivity at that moment; it does not guarantee that every destination will accept the connection.
Return to the profile list and select Start. In the opened browser, check the public IP and try loading the destination you plan to use. Compare the observed result with your selected proxy settings. Location databases can report different regions for the same IP, so record the actual result when investigating a mismatch.
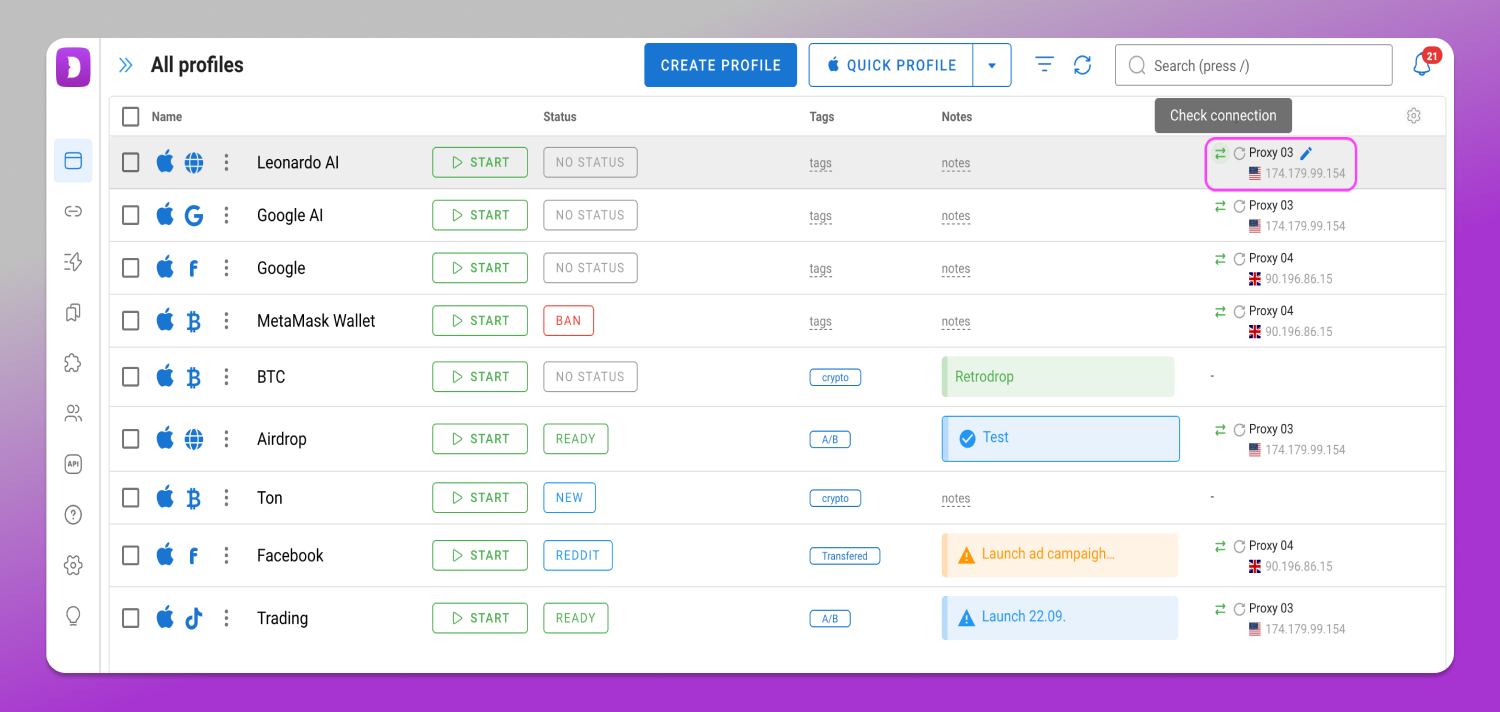
Keep passwords and session data private, and record any later changes to the profile's connection. This makes future troubleshooting easier without exposing account credentials.
Dolphin Anty offers free and paid plans with different profile limits and features. Check its current documentation before selecting a plan, since allowances and pricing can change.
For further guidance, refer to the official Dolphin Anty quick-start guide and subscription plan documentation.
No more


vmoscloudXCrawlwhoer MuLogin Antidetect BrowserVMLogin Antidetect BrowserBuyaaccBEWISER1zvcardFoxPhone Cloud Phone
Proxy4Free